Slow Stitched Books
The Little Blue Book tutorial
the steps shown here would be the way Ellen created her little fabric books
this is not the only way to make a book - nor the only stitches you can use
it is simply the way Ellen did it
feel free to add your own interpretations
this is not the only way to make a book - nor the only stitches you can use
it is simply the way Ellen did it
feel free to add your own interpretations
note: for more information about the stitches used - please scroll to the bottom of this page
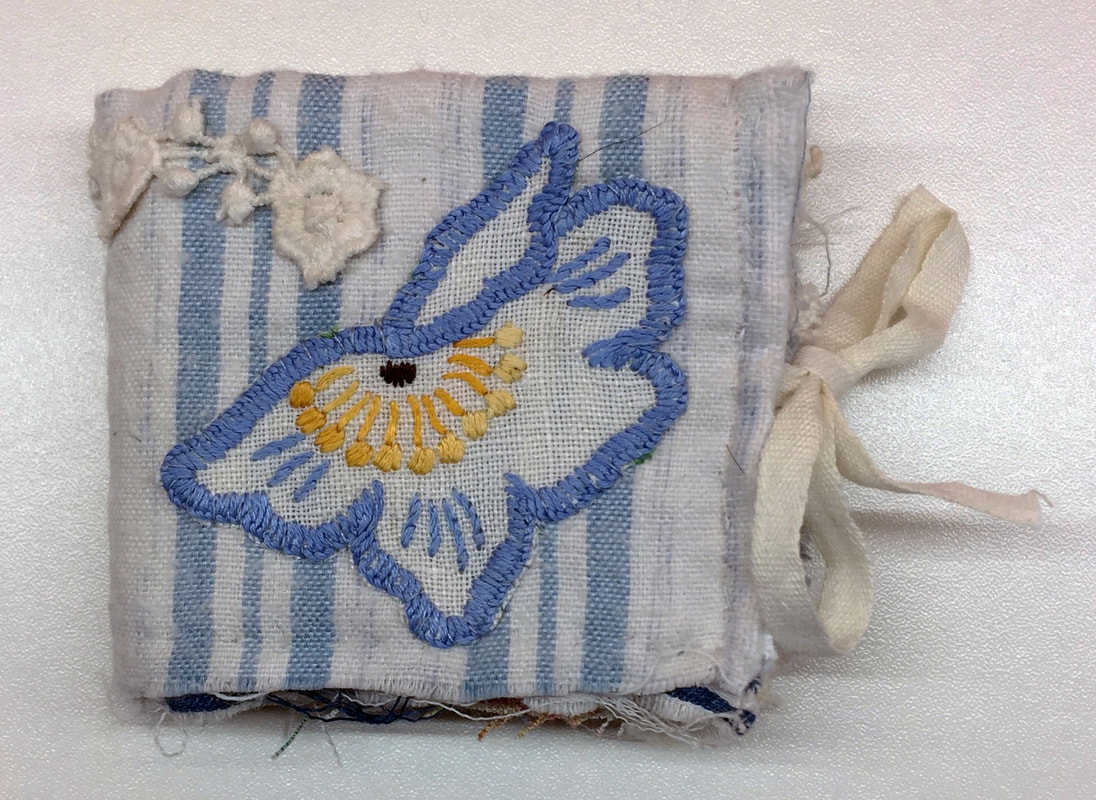
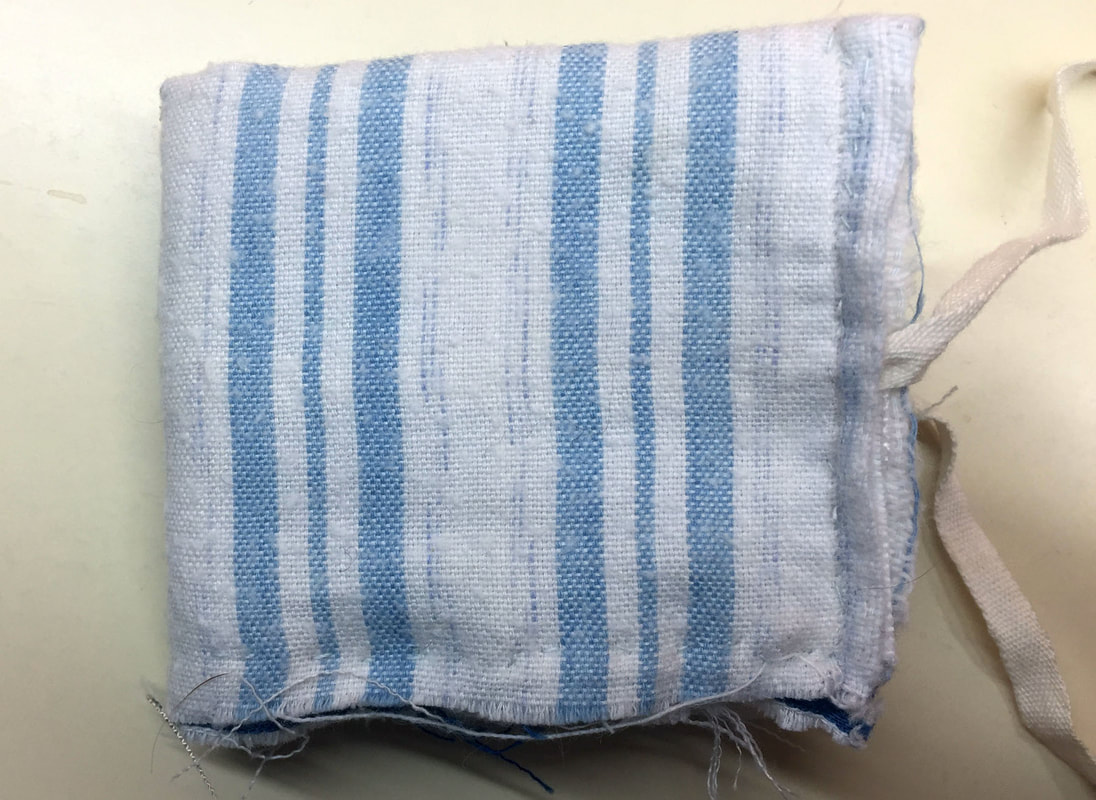
the steps shown here would have been the way Ellen created her little fabric books. This is how the cover for this book turned out.
|
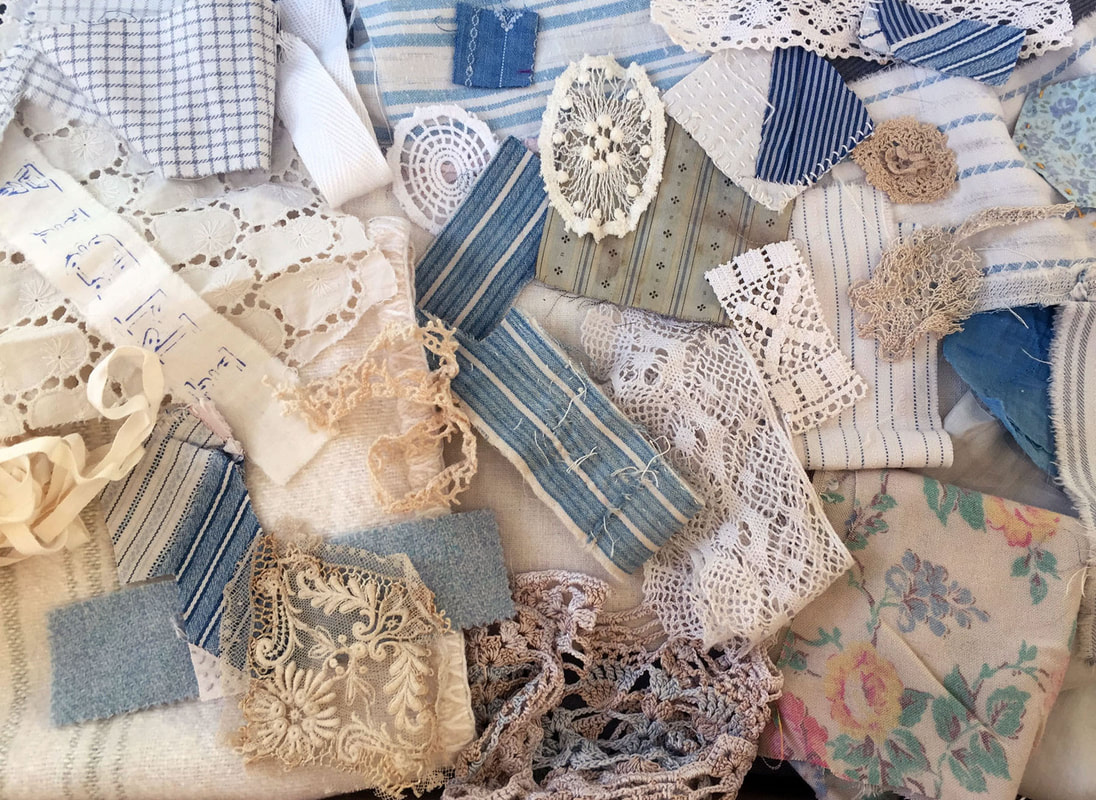
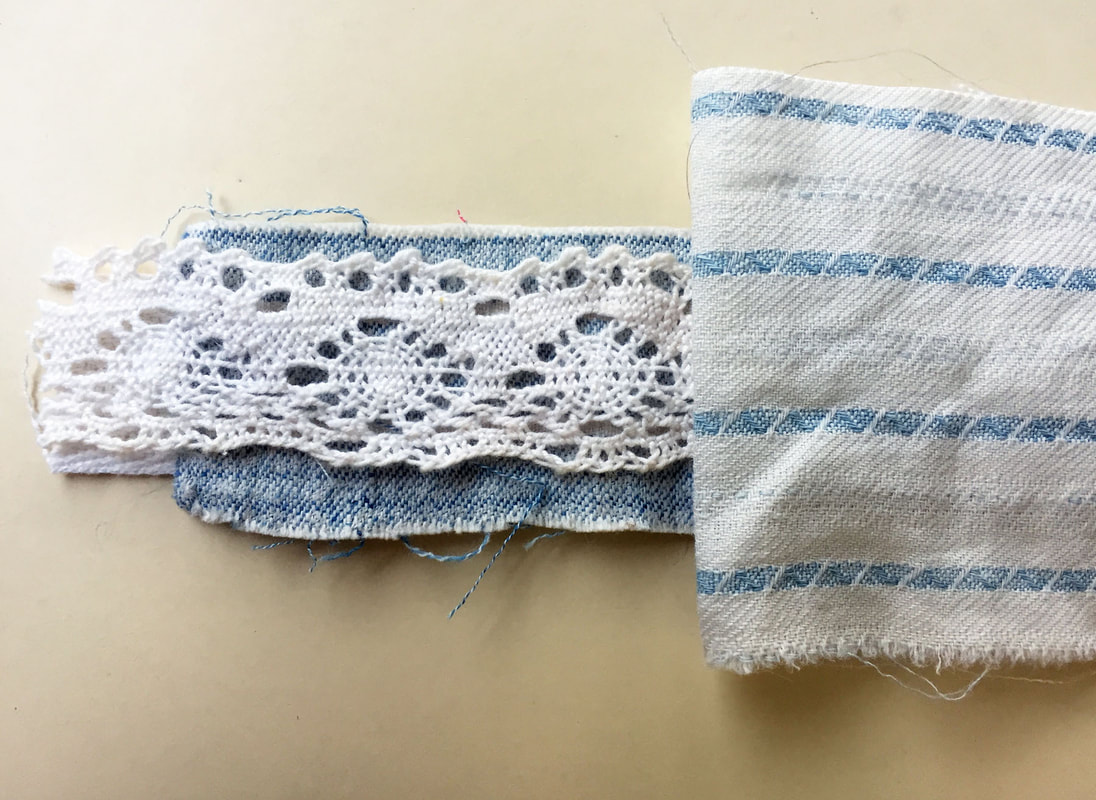
collect your potential scraps together (iron them if you wish)
|
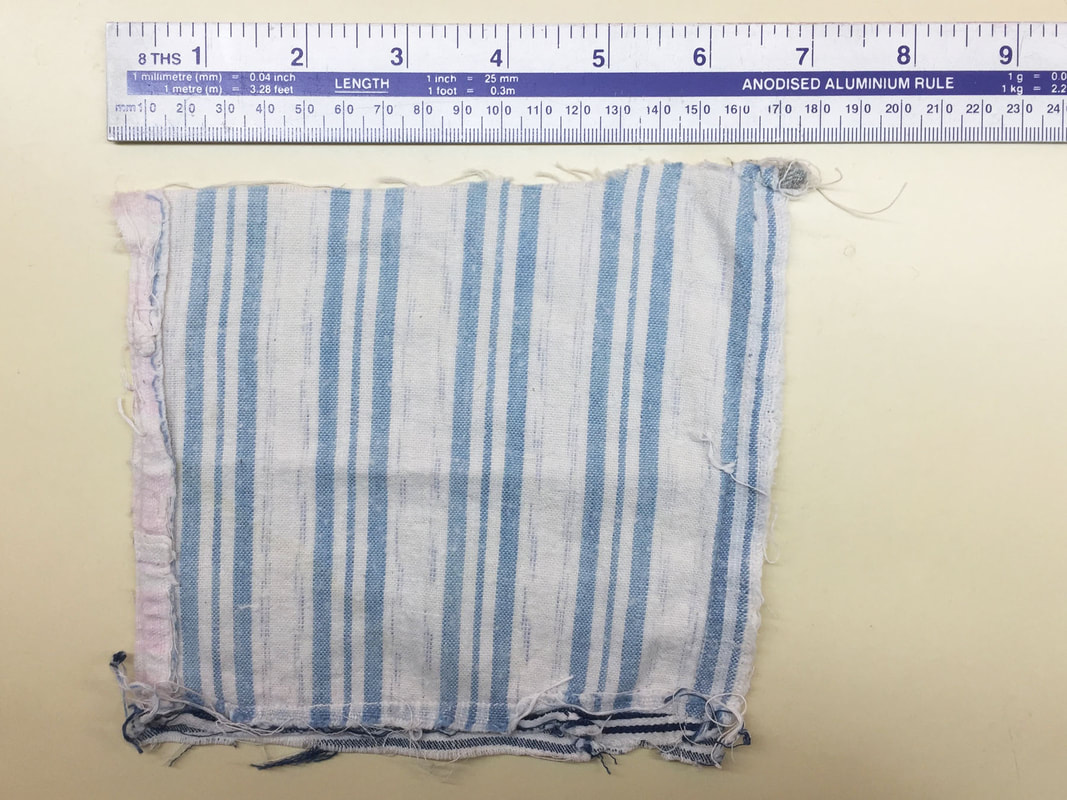
choose the piece for your cover, it will be folded in half with padding between the layers – and then folded in half again to make the front and back covers – therefore your finished cover will be a quarter the size of the piece you start with.
|

Cut a piece of something thick and soft, such as blanket or felt, just under half the size of your cover, it will not show. This padding is to give your cover some 'body'.
|

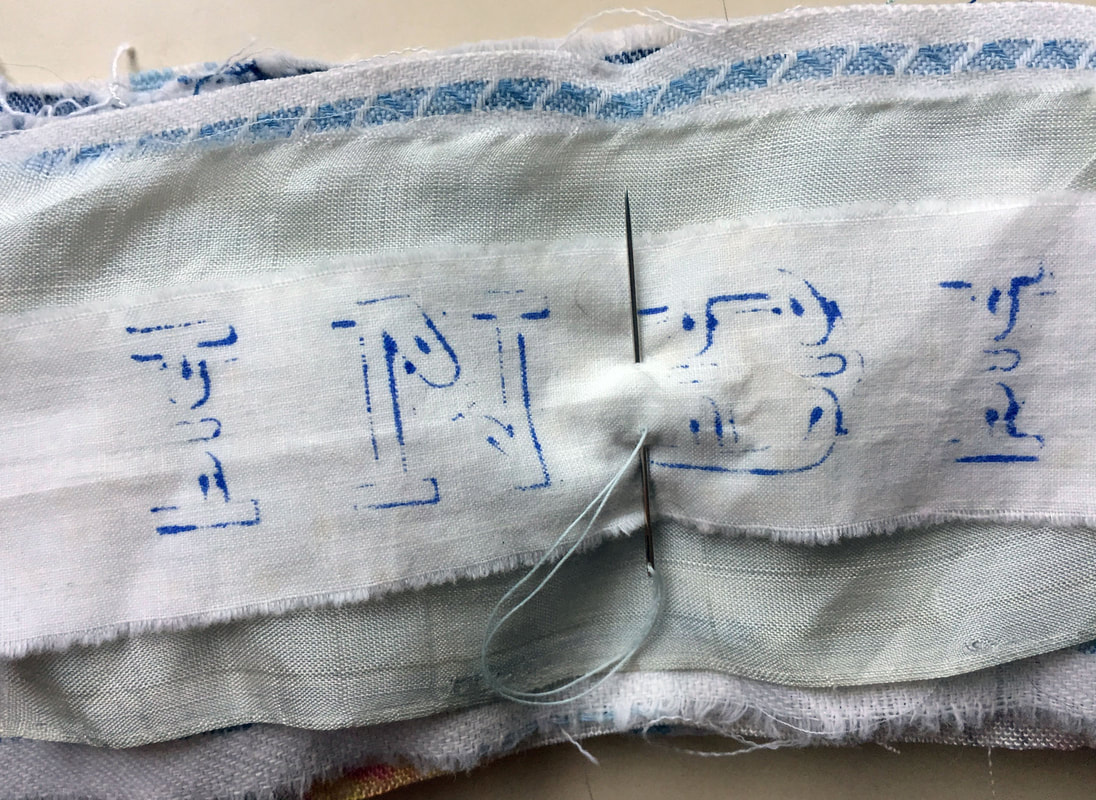
fold the cover in half to enclose the padding and stitch around the edge.
|
you can stitch the edges with running stitch or whip stitch.
|
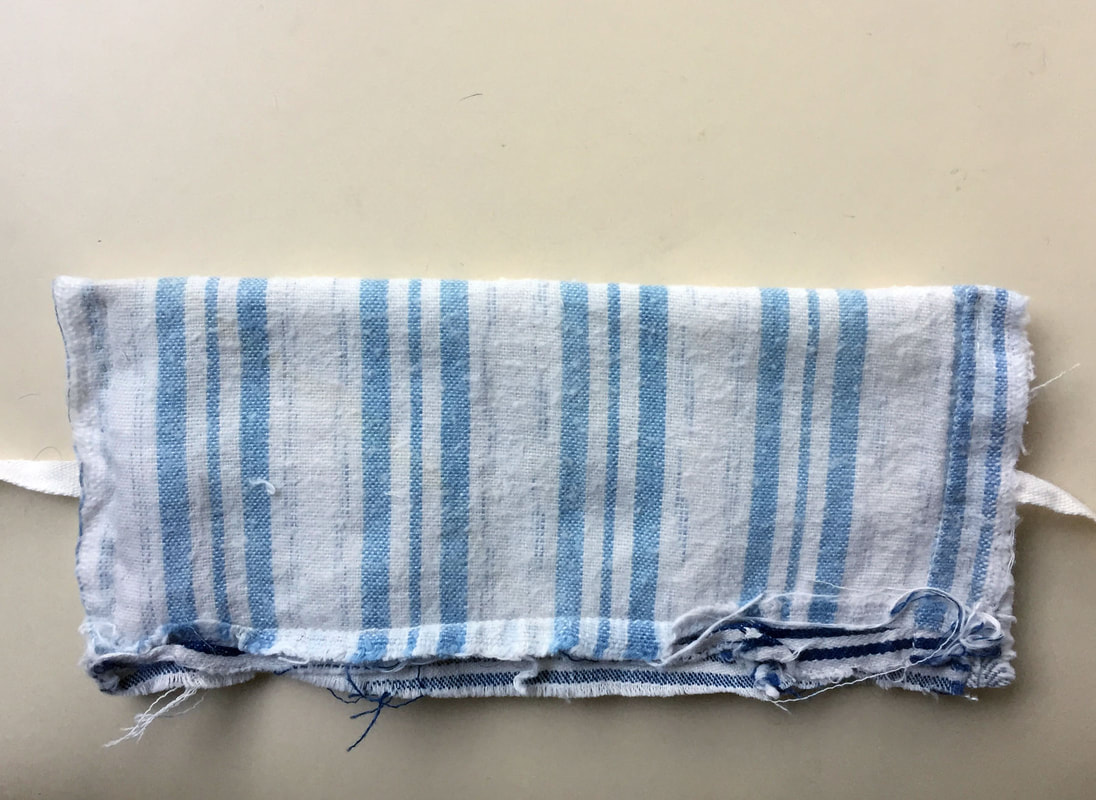
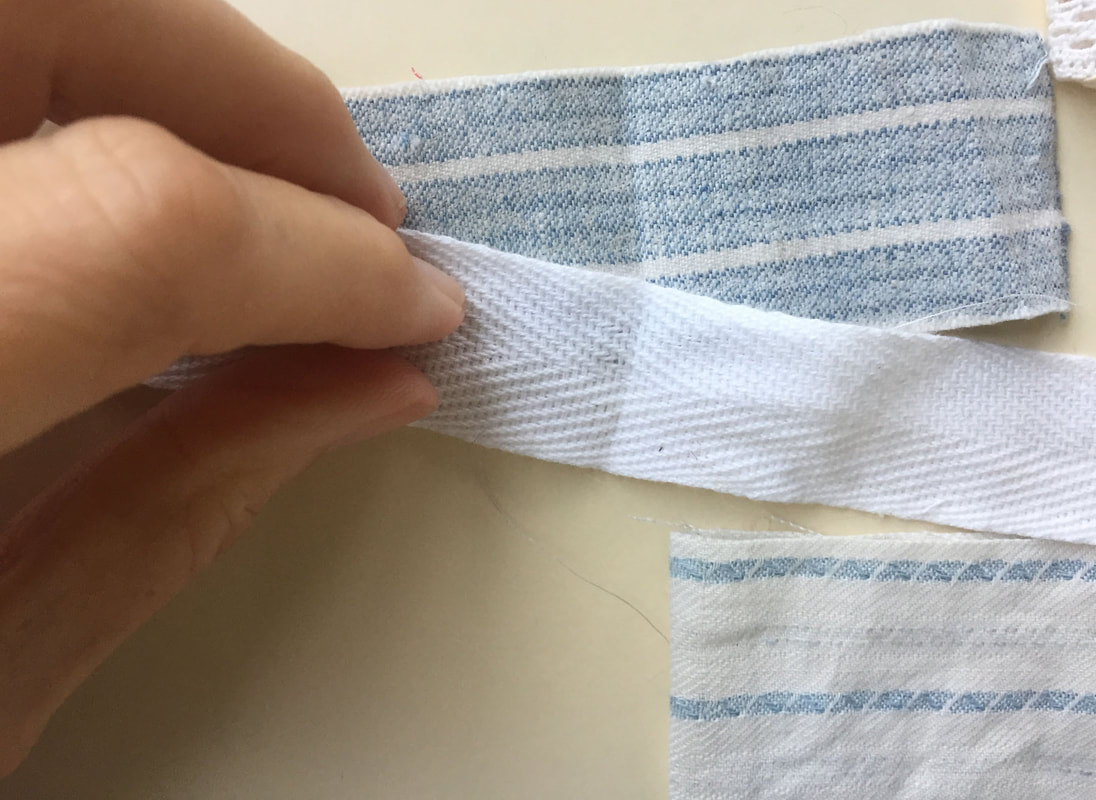
if you want to have a tie to hold your book together, then thread a piece of tape or ribbon through the edge, right along the length of the cover and out the other end.
|
secure the tape with a few stitches.
|
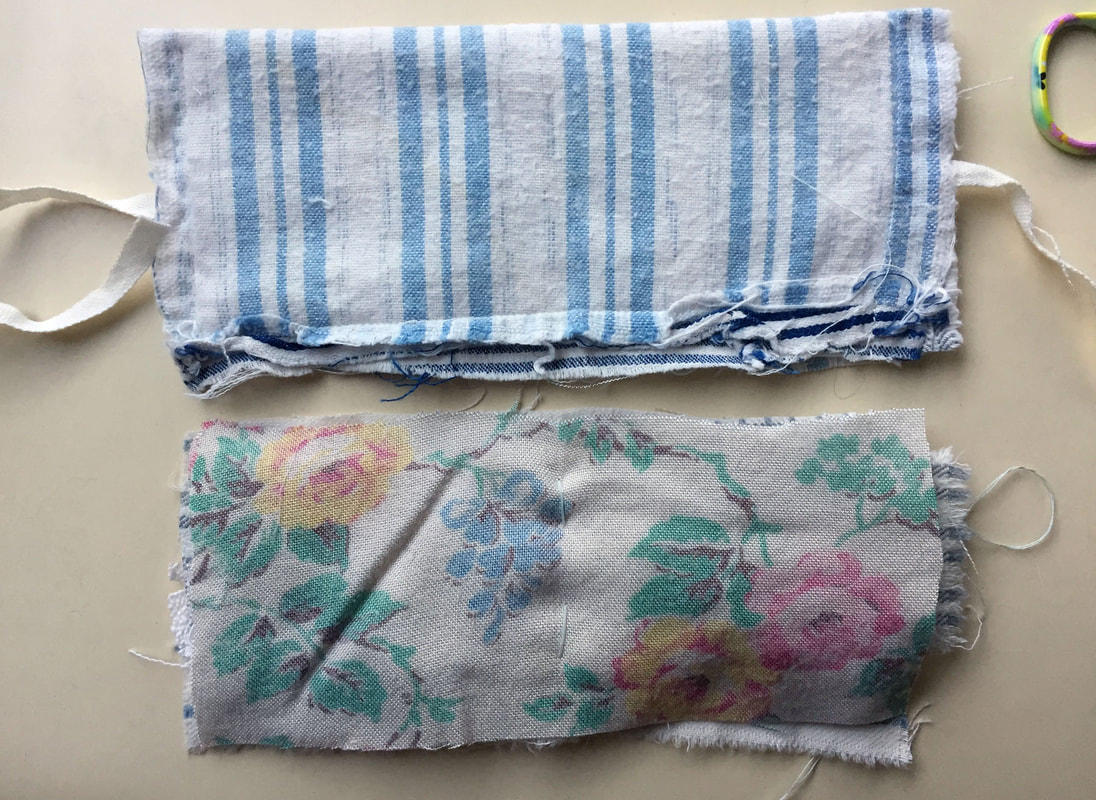
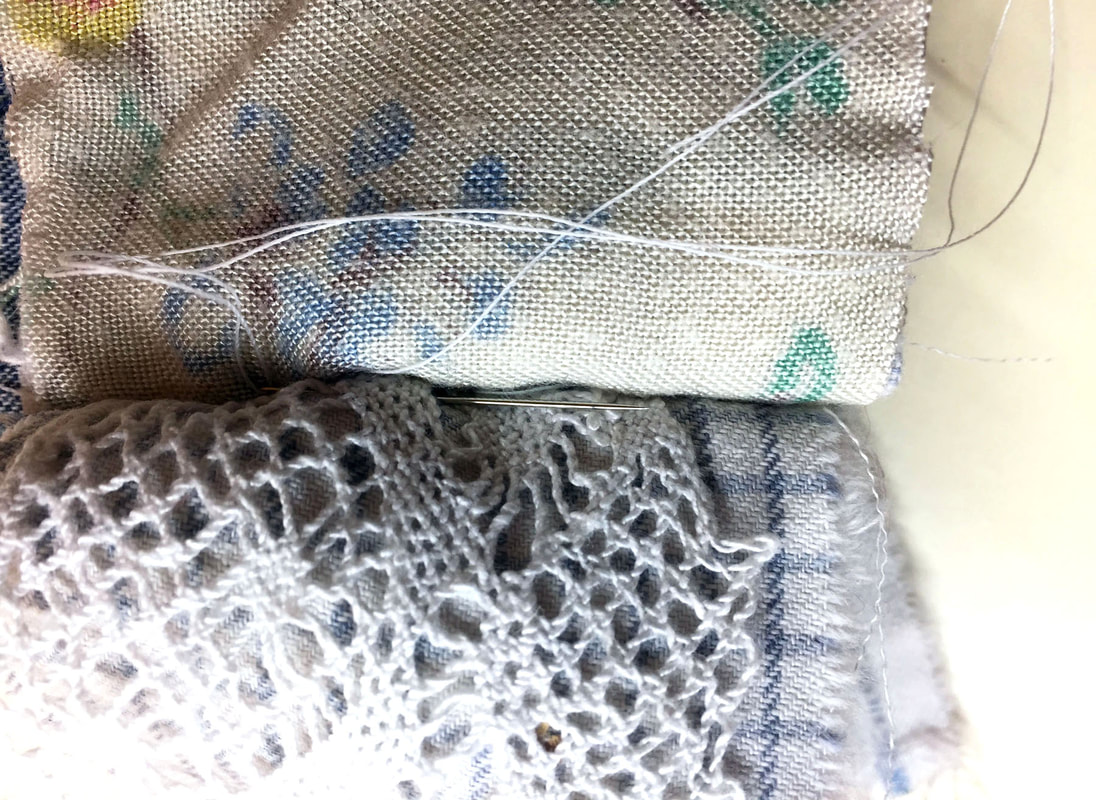
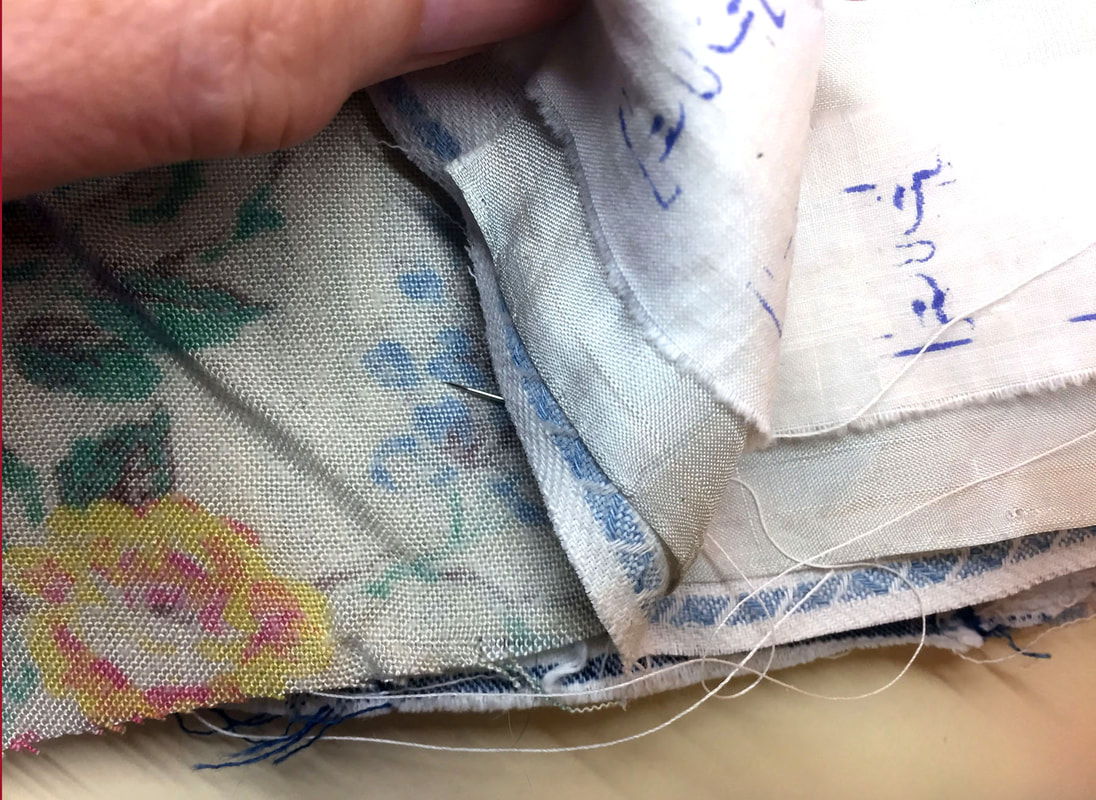
now start to select your pages, they do not need to be exactly the same size as each other. Start by choosing 10 pages. They can be fabric, ribbon, lace etc. Save a nice one to add last of all.
|
fold each page in half and press the centre fold with your fingers to mark it.
|
I stitch my pages in clusters of 3 or 4 to start with and then join them all together.
|
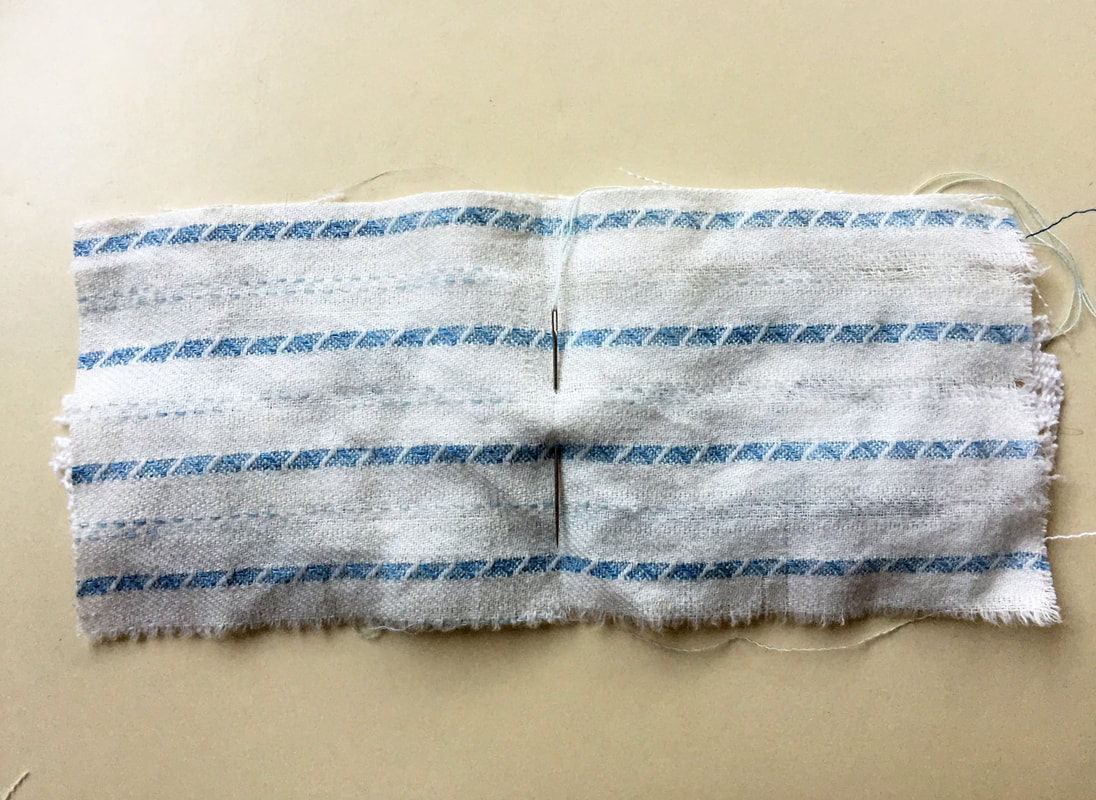
lay the pages on top of each other
|
and sew a few stitched through all three layers. A simple running stitch will do here, as it is just to stop the pages from skewing when we stitch the whole lot together.
|
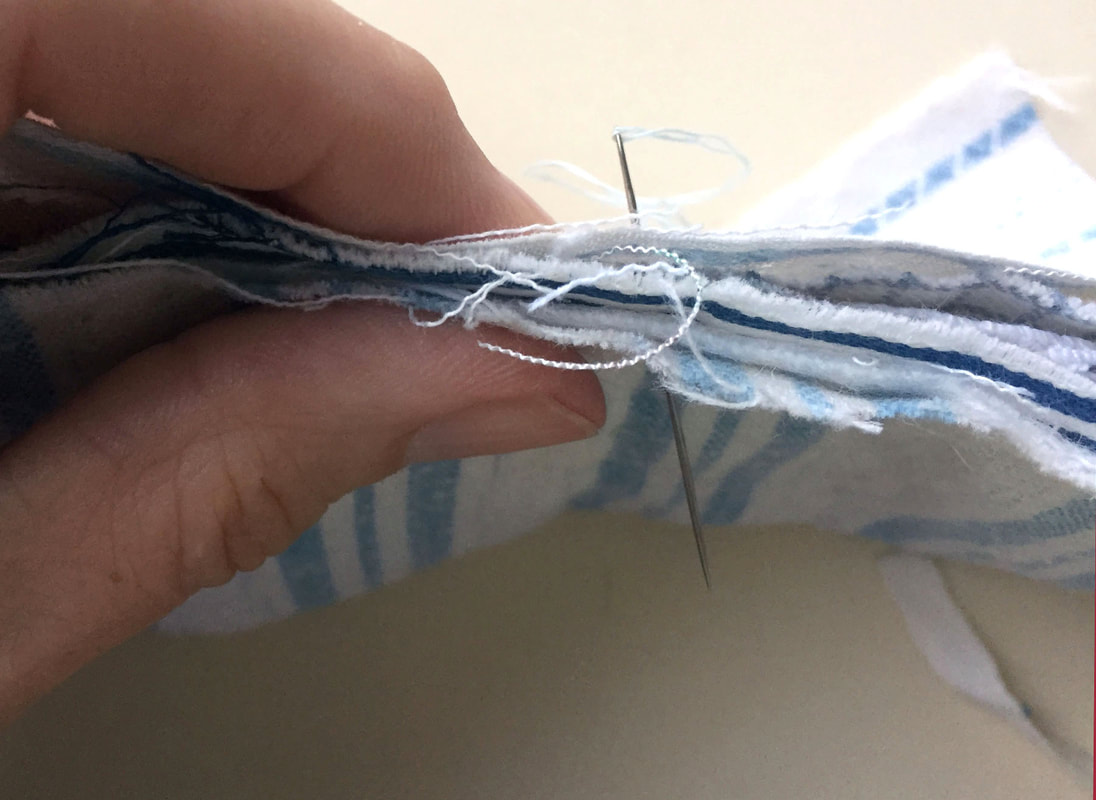
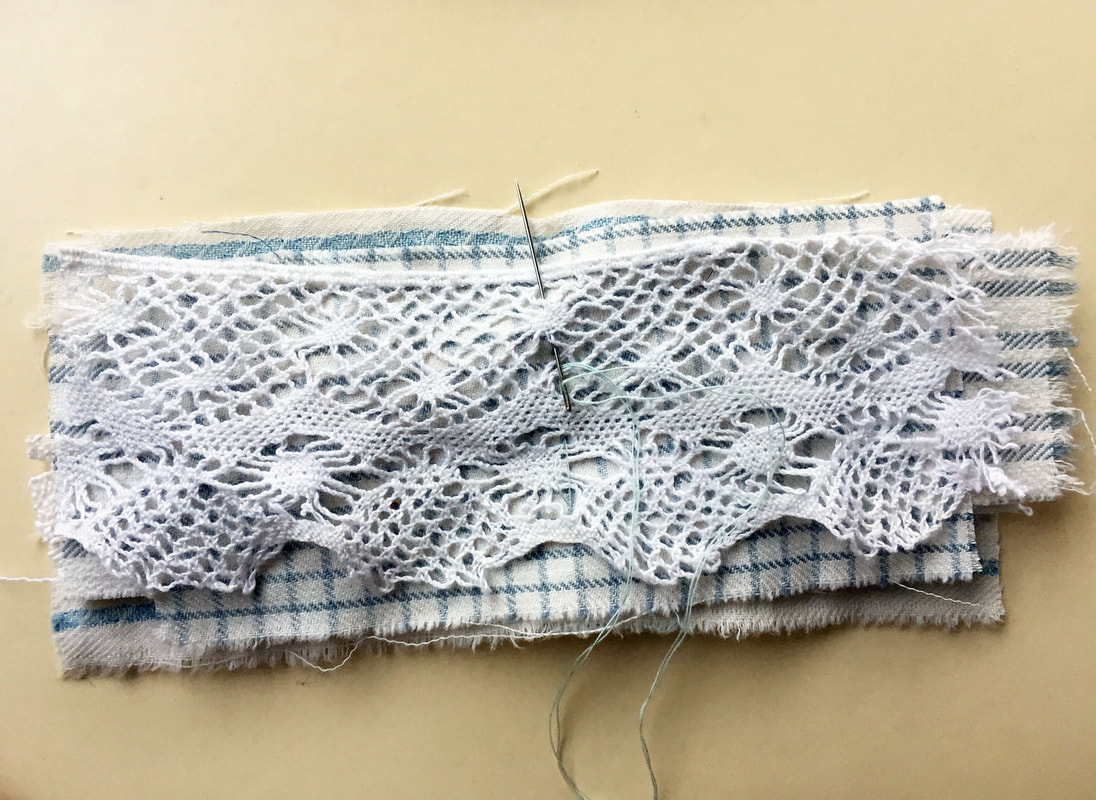
once you have got your three clusters of pages done, it is time to join them all together. This time I would use a back stitch as it is much more secure.
|
you will probably find the centre fold is looking a bit untidy, that is why I leave the centre page to last, to cover the other stitches.
|
just add two or three neat little stitches to the centre page to attach it.
|
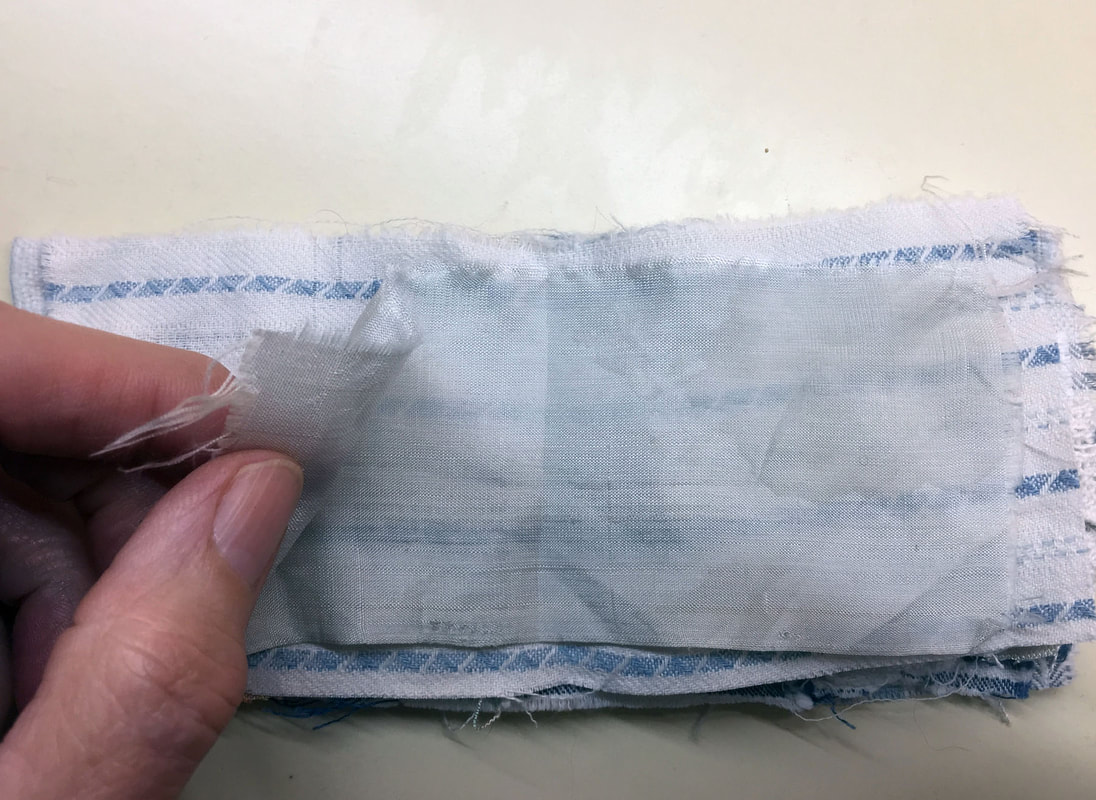
once that is done push your needle through the centre fold to come out on a random page and cut the thread.
|

when I am making my pages I sometimes find a scrap I love just is not long enough to make a double page, so I stitch two pieces together to make it longer.
|
your book is ready to decorate.
|

add tiny scraps of lace, interesting fabric, ribbon etc to the pages. You can use stitching to add interest as well as to add the tiny scraps.
|
Here are the three simple stitches used - running stitch, back stitch and whip stitch:
|
|
|
|
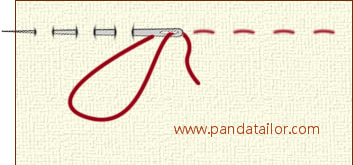
'running stitch' - also 'straight stitch'
useful for all sewing applications. It can be used to attach something or to outline something decoratively. |
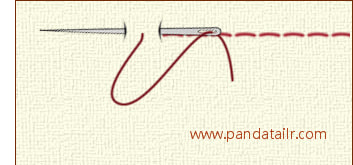
'back stitch'
a very strong stitch - useful for when you need something to be extra secure such as the spine on your book. Can also be decorative. |
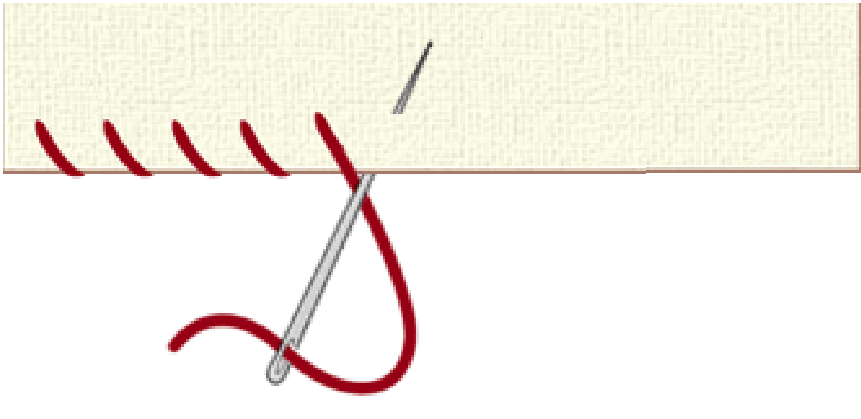
'whip stitch' - also 'over sewing stitch'
useful for adding a little patch or something decorative to your page. Can also be used to stitch your cover layers together. |
click here for a really good Stitch Dictionary of hand embroidery stitches by Pintangle
There is a community on FaceBook where you can be inspired even further:
Slow Stitched Books - Ellen's Legacy
Slow Stitched Books - Ellen's Legacy